There’s something undeniably magical about freshly baked bread—its golden crust, warm aroma, and soft, pillowy interior. While store-bought bread can’t compare to the satisfaction of making your own, the idea of baking bread at home might seem intimidating. Don’t worry! Making homemade bread is simpler than you think, and with the right ingredients, techniques, and a little patience, you can create the perfect loaf in the comfort of your kitchen. This guide will walk you through the process of making homemade bread from scratch.
Before we dive into the steps, you might be wondering why make bread at home when you can easily purchase it at the store. Well, there are a number of reasons why homemade bread is worth the effort:
- Fresher and Healthier: Homemade bread is free from preservatives, artificial additives, and excessive sugar, giving you a healthier alternative.
- Customizable: You can experiment with different types of flour, add-ins like seeds or herbs, and adjust the flavor to your liking.
- Satisfaction: The feeling of baking bread from scratch and pulling a golden, crusty loaf out of the oven is incredibly rewarding.
Bread-making is an art, and like any art, it requires the right tools and ingredients. Here are the basic ingredients you’ll need to make the perfect homemade bread:
- Flour: The foundation of any good bread. Bread flour is typically preferred due to its higher protein content, which helps develop the gluten structure needed for a chewy texture. All-purpose flour can also work if that’s what you have on hand.
- Water: Water hydrates the flour and activates the yeast, enabling the dough to rise. Use room temperature water unless the recipe specifies otherwise.
- Yeast: Yeast is the leavening agent that makes bread rise. Active dry yeast is commonly used for homemade bread, but instant yeast can also be used without needing to be dissolved in water.
- Salt: Salt not only enhances the flavor but also regulates the yeast’s activity, ensuring the dough rises at a steady pace.
- Sugar: Sugar provides food for the yeast, helping it to grow and ferment, leading to a better rise and flavor. While optional, a small amount of sugar is often added to help the yeast bloom.
- Fat: Fats, like butter or olive oil, help soften the texture of the bread and add flavor.
Now that we have all the ingredients, let’s walk through the bread-making process step-by-step.
To begin, we need to activate the yeast (if you’re using active dry yeast). In a small bowl, combine 1 cup of warm water (about 110°F or 45°C) with 1 tablespoon of sugar. Stir until dissolved. Sprinkle the active dry yeast over the water and sugar mixture. Let it sit for 5-10 minutes, or until the mixture becomes frothy. If your mixture doesn’t bubble, the yeast might be expired or the water might have been too hot or too cold, so it’s best to start over with fresh yeast.
If you’re using instant yeast, you can skip the activation step and simply mix it directly with the flour.
Once the yeast is activated, it’s time to mix the dough. In a large mixing bowl, combine:
- 3 cups of bread flour (or all-purpose flour)
- 2 teaspoons of salt
Create a small well in the center of the flour and pour in the activated yeast mixture. Using a spoon or your hands, gently mix the ingredients until the dough begins to come together.
Gradually add more water if necessary. You want the dough to be slightly sticky but still manageable. The exact amount of water can vary depending on the flour you use, so adjust accordingly.
Kneading is a crucial step in bread-making, as it helps develop gluten and gives the bread its chewy texture. Sprinkle a little flour onto your countertop or work surface and turn the dough out onto it.
Knead the dough by folding it in half, pushing it away from you with the heels of your hands, and then folding it again. Rotate the dough a quarter turn and repeat the process for 8-10 minutes. The dough should become smooth, elastic, and slightly tacky but not sticky. If it’s too sticky, sprinkle in a little more flour, but be careful not to add too much, or the bread will become dense.
Once your dough is kneaded, place it in a lightly greased bowl and cover it with a damp cloth or plastic wrap. Let the dough rise in a warm place for 1 to 1.5 hours, or until it has doubled in size. This process is called “proofing,” and it allows the yeast to ferment and create air bubbles in the dough.
Tip: If your kitchen is cool, you can place the bowl in the oven with just the light on to create a warm, draft-free environment for the dough to rise.
After the dough has risen, turn it out onto a lightly floured surface and gently punch it down to release any air bubbles. This step is known as “degassing” the dough. Fold the edges into the center, and then form the dough into a smooth ball or a loaf shape, depending on what kind of bread you’re making.
Once shaped, place the dough in a greased loaf pan or on a baking sheet, depending on your preference. Cover it again with a damp cloth and let it rise for another 30 to 45 minutes. The dough should puff up and fill the pan or become slightly larger.
While the dough is proofing, preheat your oven to 375°F (190°C). This will ensure that the bread bakes evenly and rises properly in the oven.
Place the dough in the preheated oven and bake for 25 to 30 minutes (or until golden brown). If you’re baking a larger loaf or different shape, the baking time may vary. The bread is done when it sounds hollow when tapped on the bottom or has reached an internal temperature of about 190°F (88°C).
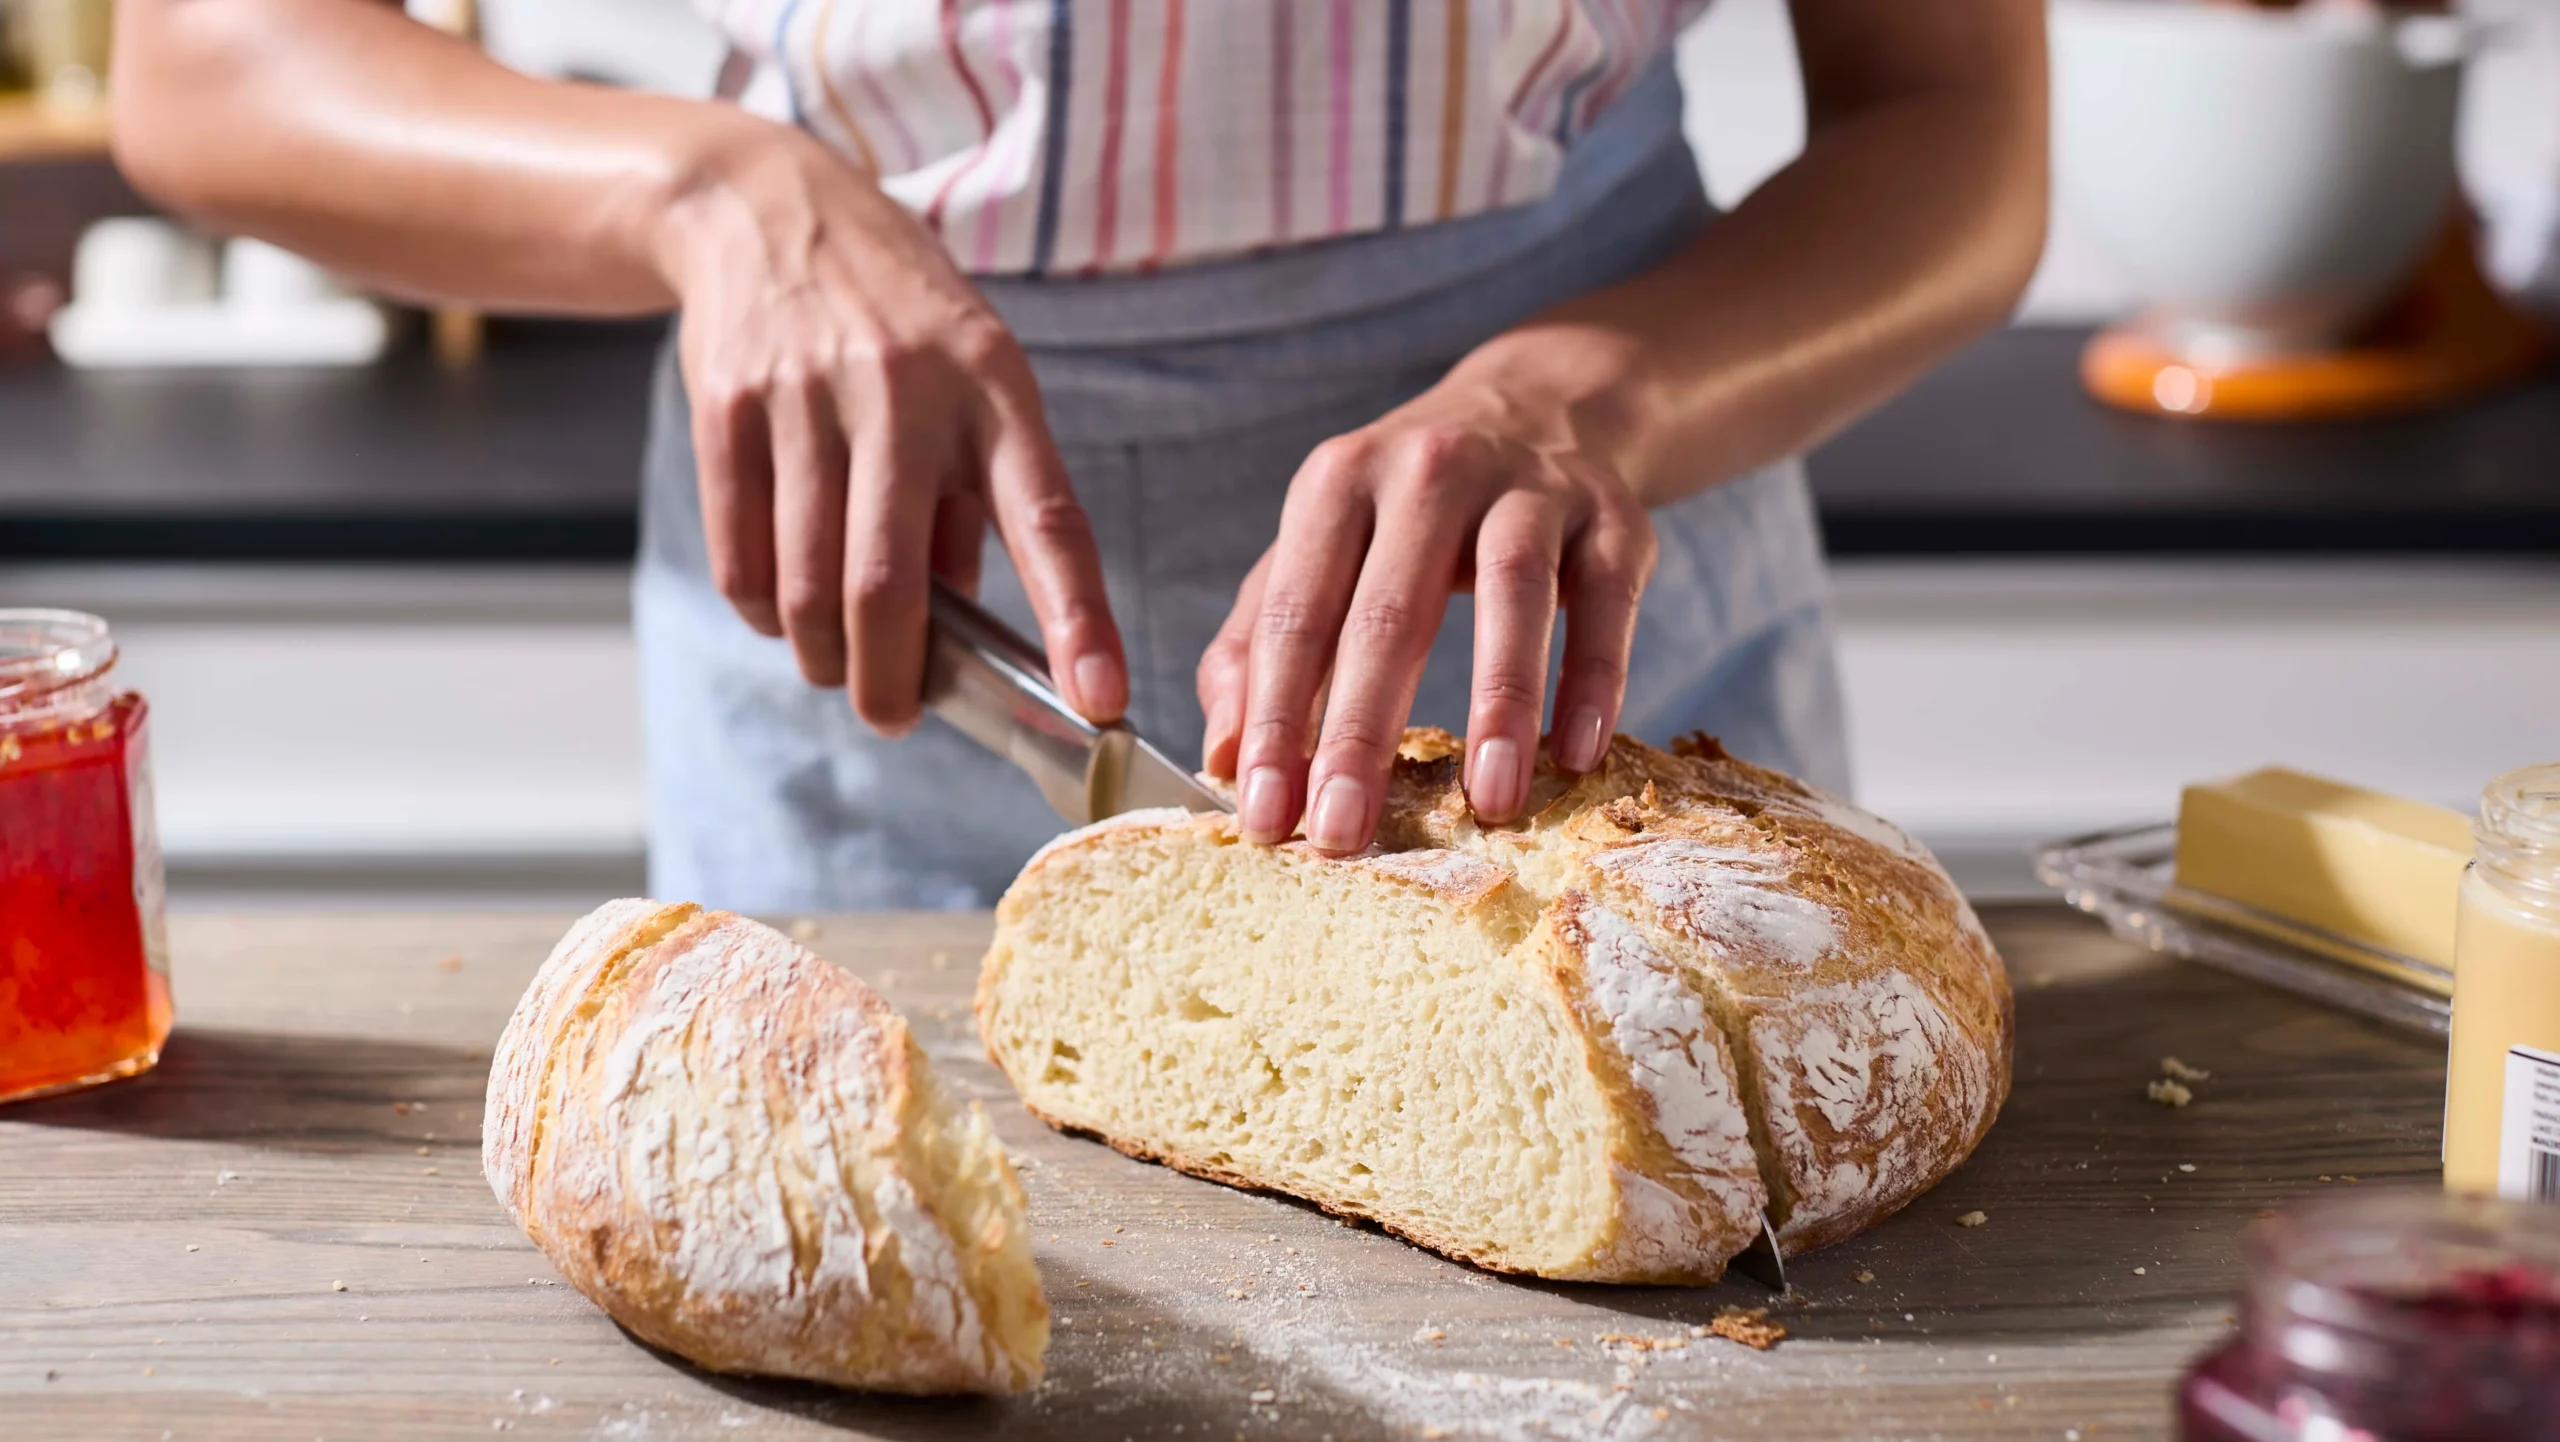
Once the bread is baked, remove it from the oven and let it cool on a wire rack. This cooling step is crucial, as it helps the bread set and allows you to slice it properly. Avoid cutting it while it’s still hot, as the interior may be too soft and mushy.
- Use Room-Temperature Ingredients: Ensure your yeast, water, and any fats are at room temperature. This helps the yeast activate properly.
- Knead Well: Proper kneading develops the gluten, which gives your bread structure and texture.
- Don’t Overwork the Dough: After you’ve shaped the dough, resist the temptation to handle it too much. Overworking the dough can result in tough bread.
- Make Adjustments for Humidity: The amount of water needed can vary depending on the humidity in your kitchen. If your dough is too dry, add a bit more water, a tablespoon at a time.
- Experiment with Add-Ins: You can add seeds, nuts, herbs, or even cheese to your bread dough for extra flavor.
Baking bread at home may seem intimidating at first, but with the right techniques and a little patience, you can master the art of homemade bread. From activating the yeast to the final bake, each step contributes to creating a warm, soft, and delicious loaf that will fill your home with the irresistible smell of fresh bread. So, roll up your sleeves, gather your ingredients, and start baking—there’s nothing like enjoying a warm, homemade loaf of bread straight from the oven.